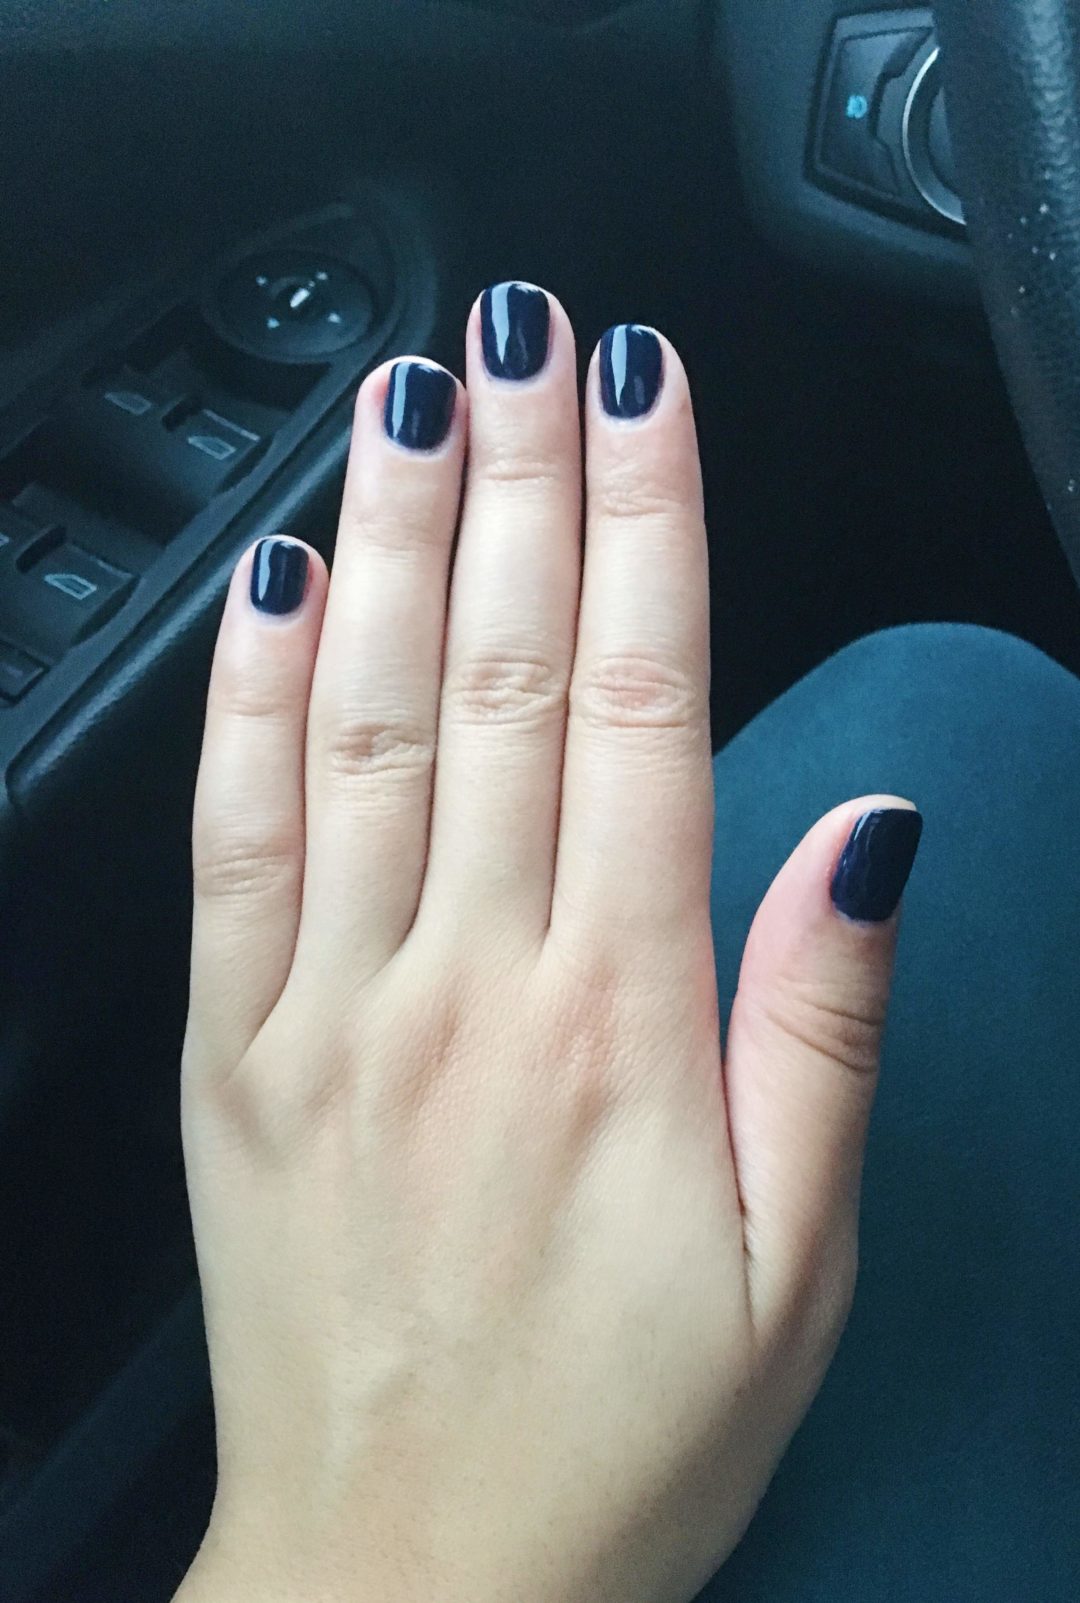
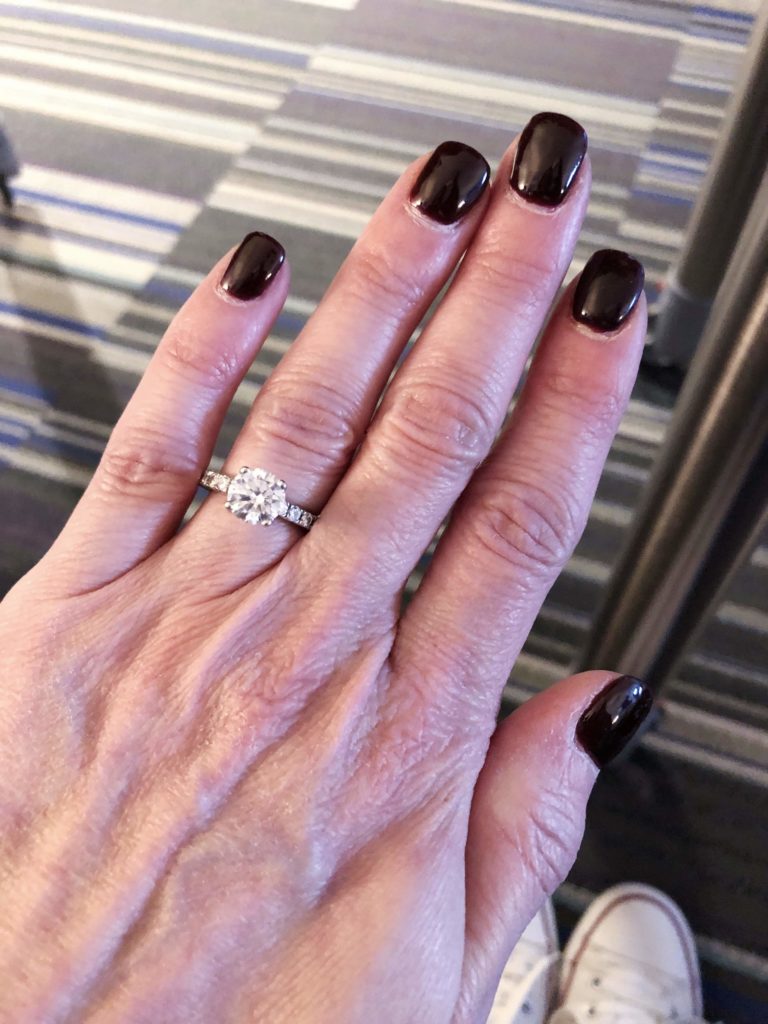
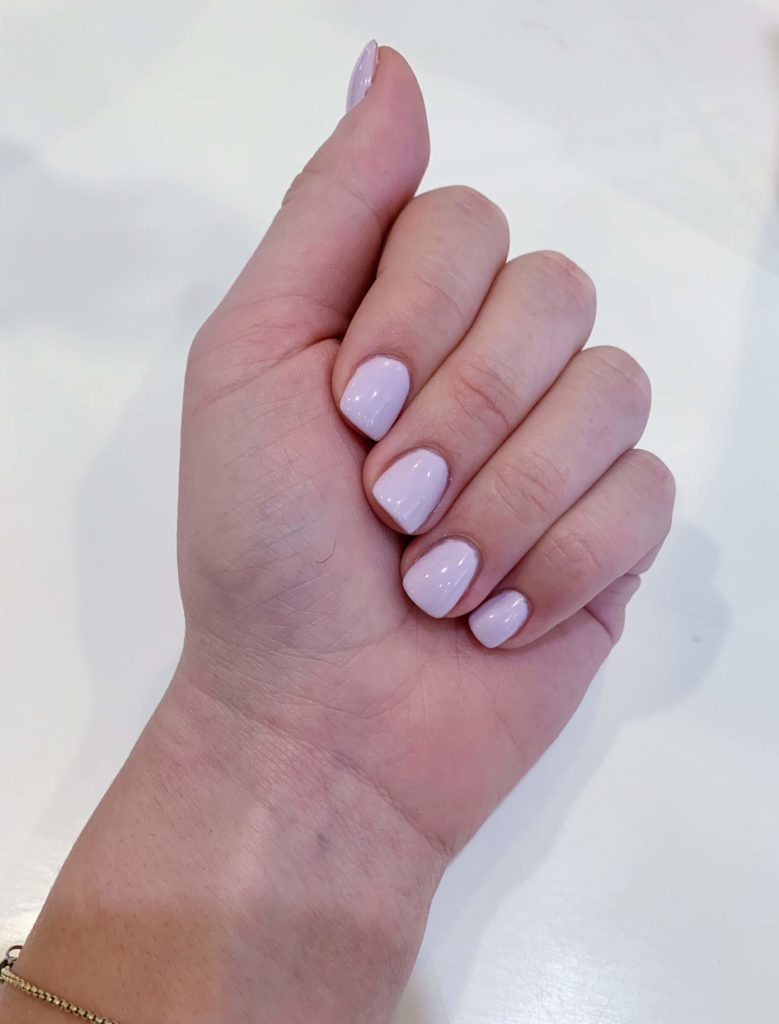
I am not alone when I say I am a lover of gel nail polish! The sleek and chic look that lasts three weeks…it’s beautiful. A lovely co-worker of mine gave me the idea to write this because she had a “not so great” experience with her gel manicure. She said it started chipping after a couple days which has never happened to me. It made me want to figure out what could have gone wrong!
Right away I think we need to go over some basics and understand some simple information. I’ll do definitions, those seem pretty straight forward.
-hard gel: acrylic nails, when cured are hard enough to form gel extension on natural nails
-soft gel: gel nail polish, gentle and can not form extensions on natural nails
-photoinitiators: a molecule that produces reactive species when exposed to radiation
-free radicals: atom, molecule, or ion that has an unpaired valence electron
-polymerization: process of reacting monomer molecules together in a chemical reaction to form polymer chains or three-dimensional networks
-oligomer: a molecular complex of chemicals that consists of a few repeating units; endless monomers (single units)
-UV light: ultraviolet light, wavelength of light that we can’t see. It falls between 100 and 400 nanometers on the electromagnetic spectrum. Commonly found as compact fluorescent lamps
-LED light: light emitting diode, tighter wavelength than UV however LED bulbs emit the right UV-A light that cures gel polish suited for LED light
-UV curing: chemical process that occurs when photoinitiators within the gel itself are exposed to the UV or blue light
Cool. Now we have the basics taken care of. Let’s see what exactly happens when you get a gel manicure step by step!
Step 1
A base coat is applied to the nail. This base coat is a bonder for the gel nail polish to stick to. It’s the barrier between the polish and the natural nail. It acts like an acrylic primer for the entire process.
Step 2
The base coat is cured by placing hand under UV/LED light. Once under the light, the photoinitiator in the base coat reacts and releases free radicals that interact with the double bonds in the polish making it slightly unstable. When the double bond breaks, they re-form into a polymer (repeating similar units). This polymer is the stable state of the base coat. This reaction is called polymerization. When it is occuring you can feel a hot or burning sensation. Polymerization is an exothermic reaction meaning it gives off heat.
Step 3
The gel polish is then applied in a thin layer. The curing process is then repeated to bond the polish to the base coat. Applying thin layers is very important because UV light has difficulty penetrating through multiple layers. By applying a thin layer and curing properly, the polish can set and last longer.
Step 4
Gel polish application and UV curing is repeated until desired color is achieved.
Step 5
The top coat or sealing layer is applied and UV cured. This is a protection layer that prevents chipping or discoloration. It sits above the colored polish and allows it to be moisture resistant.
Step 6
After curing the top coat, it will be slightly sticky (known as the inhibition layer) because it is the most outer layer. A cotton ball with an acetone/water mixture rubbed on top will take the stickiness away and give a final shine to the nails.
There is a rumor that doing gel nails consistently can do damage to our hands and nails. But the UV light used is UV-A which is not as dangerous as UV-B light. I’m sure it is not good to have your hands under UV light constantly but every couple weeks is probably not that harmful. Again, I’m not a doctor or an expert, this is just what I think.
In the coming months, I have another blog scheduled all about doing at home gel nail polish!! Putting this polymerization into action!!
I think gel nail polish is really cool but never realized how much of a science it actually is. Taking a couple of minutes to learn about what we are doing cosmetically has really been fun! So thank you to my coworker Brienne for giving me this idea!!
Xox, Z